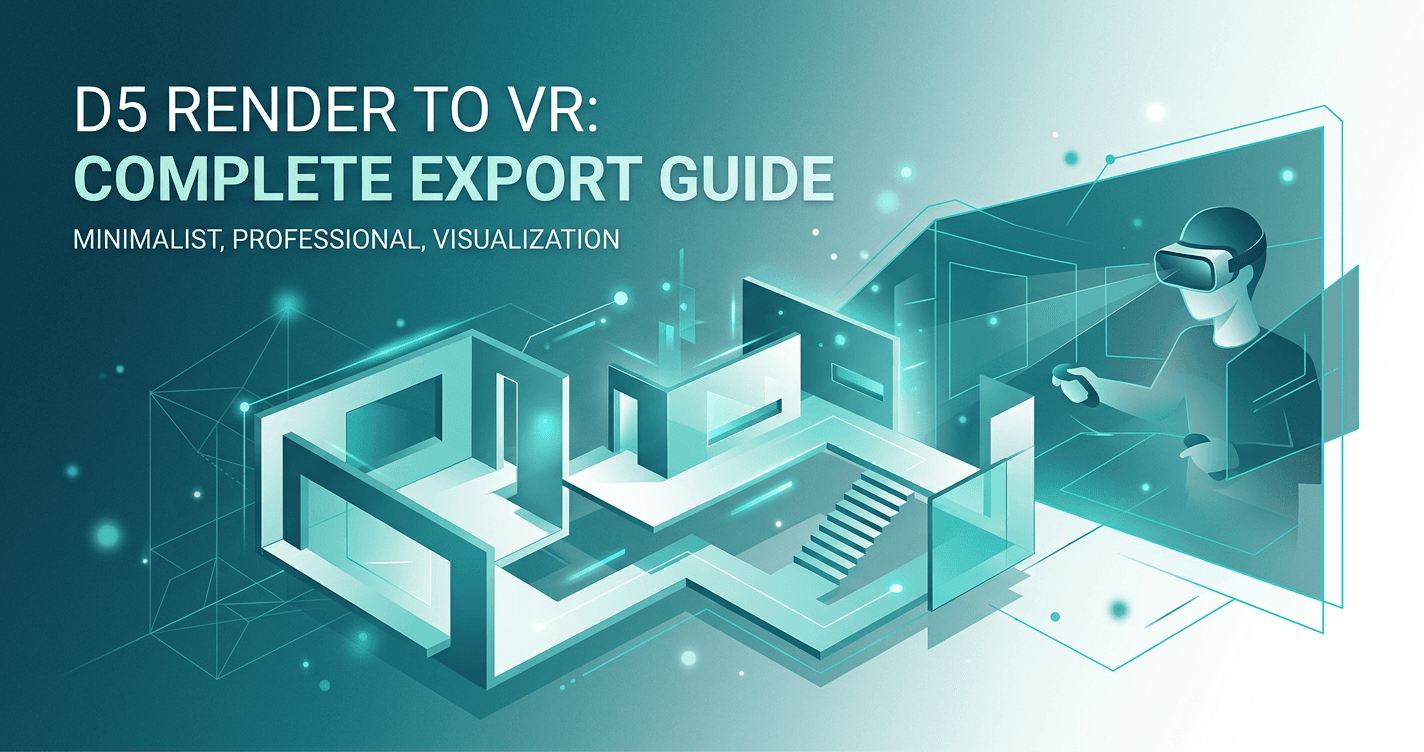
D5 Render to VR: Complete Export Guide
If you're using D5 to create architectural visualizations, you've probably struggled with this: clients look at your beautiful 2D renders but can't truly understand the space. They squint at floor plans, ask endless questions about room sizes, and struggle to visualize how everything flows together.
There's a better way. This comprehensive guide shows you exactly how to convert your existing d5 panoramic renders into fully immersive VR walkthroughs that clients can experience on any device — Quest 3 headsets, desktops, tablets, or phones.
No expensive plugins. No complex setup. No weeks of learning. Just a simple workflow that takes 5-10 minutes once you've done it a few times.
By the end of this guide, you'll know exactly how to create VR presentations that make clients say "I get it now" instead of "Can you explain that again?"
Why D5 to VR Matters for Architects
Traditional 2D presentations have limitations:
- Spatial confusion: Clients struggle to visualize the final space
- Design changes: Miscommunication leads to costly revisions
- Lost projects: Competitors with better presentations win
VR solves these problems:
- Clients experience the design before construction
- Better communication means fewer changes
- More engaging presentations win more projects
Studies show that 73% of clients can't accurately visualize spaces from 2D plans alone. VR bridges that gap.
What You'll Need
Before we dive into the workflow, make sure you have:
- D5 (version 3.0 or newer recommended)
- Your 3D model (Revit, SketchUp, Rhino, ArchiCAD, or any supported format)
- Ooyoun account (contact us to get started)
- Optional: Meta Quest 3 (for full VR testing, but viewers don't need one)
Time required:
- First walkthrough: 15-20 minutes
- Subsequent walkthroughs: 5-10 minutes
Skill level: Beginner-friendly. If you can export images from d5, you can do this.
Complete Step-by-Step Walkthrough
Step 1: Plan Your VR Walkthrough
Before exporting anything, plan your viewing experience:
Choose your viewpoints strategically:
- Start: Main entrance or arrival point
- Key spaces: Living areas, bedrooms, kitchen (residential) or main workspace, meeting rooms (commercial)
- Transitions: Hallways, stairs (show vertical circulation)
- Highlights: Special features, views, outdoor connections
How many panoramas?
- Minimum viable: 3-5 key spaces (quick client preview)
- Standard: 8-12 viewpoints (comprehensive walkthrough)
- Complete: 15-20+ (large projects, multiple floors)
Start with 8-12 for most projects. You can always add more later.
Pro tip: Sketch a simple bubble diagram showing your viewpoint locations and how they connect. This prevents awkward navigation paths.
Step 2: Set Up and Export Panoramas from d5
Now that you have your viewpoints planned, let's export them:
Configure d5 camera settings:
- Open your model in d5
- Navigate to your first planned viewpoint
- Set camera height to 1.6 meters (5.25 feet) — standard eye level
- Frame the view (this will be the default viewing direction when someone loads this panorama)
Export settings (critical for VR quality):
- Format: Equirectangular (360° panorama)
- Resolution: 8192 x 4096 pixels (8K) — don't skimp on this
- Aspect ratio: Exactly 2:1 (equirectangular standard)
- Quality: Maximum (90%+ for JPEG, or use PNG if file size isn't a concern)
- File naming: Use descriptive names (01-entrance.jpg, 02-living-room.jpg, etc.)
Export process:
- Export first panorama, verify quality in image viewer
- Move to next viewpoint
- Repeat for all planned locations
- Save all to a dedicated project folder
Common d5-specific settings: Consult your d5 documentation for equirectangular panorama export settings. Key requirements: 8192x4096 resolution, 2:1 aspect ratio, equirectangular projection.
Time-saving tip: Many renderers support batch export. Set up all viewpoints first, then export them all at once.
Step 3: Upload and Process in Ooyoun
Now we bring your panoramas into the VR environment:
Initial setup:
- Go to ooyoun.com
- Sign in (or create free account if first time)
- Click "New Project"
- Give it a meaningful name (e.g., "Modern Villa - Client Presentation - March 2026")
Upload panoramas:
- Click "Add Panoramas" or drag & drop directly
- Select all your exported panoramas (they'll upload in parallel)
- Wait for processing: ~30-60 seconds per image
- While uploading, panoramas will show progress indicators
What happens during processing:
- Ooyoun optimizes images for web and VR viewing
- Creates multiple resolution versions for different devices
- Prepares streaming tiles for smooth navigation
Once complete, you'll see thumbnails of all your panoramas.
Step 4: Create Navigation with Hotspots
This is where your VR walkthrough comes to life:
Understanding hotspots: Hotspots are interactive points that let viewers navigate between panoramas. Think of them as doorways in a real building.
Placing your first hotspot:
- Click on your entrance/starting panorama to open the editor
- Click "Add Hotspot" (or press H on keyboard)
- Click in the panorama where the hotspot should appear (e.g., in a doorway leading to the next room)
- A circular hotspot appears — you can drag it to fine-tune position
- In the hotspot settings panel:
- Destination: Select which panorama it should jump to
- Label: (Optional) Name it ("To Living Room", "To Kitchen", etc.)
Building a logical navigation flow:
- Start from entrance, add hotspots to adjacent spaces
- Make navigation bidirectional (if you can go A→B, add B→A)
- Place hotspots at natural transition points (doorways, hallway entries)
- Avoid dead ends (every panorama should have a way back)
Hotspot best practices:
- Limit per space: 3-5 hotspots maximum (more is cluttered)
- Consistent height: Place at roughly the same height (waist level works well)
- Clear visibility: Don't hide hotspots behind objects
- Test the flow: Walk through yourself before sharing
Pro tip: For multi-story buildings, create a clear "To Upper Floor" / "To Lower Floor" path using stairwell panoramas.
Step 5: Test Your VR Walkthrough
Before sharing with clients, test everything:
Desktop testing:
- Click "Preview" in the editor
- Click and drag to look around
- Click each hotspot to verify navigation works
- Check for:
- Broken links (hotspots that don't go anywhere)
- Awkward jumps (hotspots that skip important spaces)
- Missing connections (rooms you can't reach)
Mobile testing (if you have a device): Open the preview link on your phone or tablet. Test touch navigation.
VR headset testing (Meta Quest 3): If you have access to a Quest 3:
- Open the preview link in Quest browser
- Click "Enter VR" button
- Experience it as your client will
- Use hand tracking or controllers to navigate
Fix any issues you find before sharing.
Step 6: Publish and Share
Once you're happy with the walkthrough:
Publishing:
- Click "Publish" in the top right
- Ooyoun generates a unique, shareable link
- Copy the link (it looks like: https://ooyoun.com/present/abc123xyz)
Sharing with clients:
- Via email: Paste the link with brief instructions
- Via text: Send directly to their phone
- In proposals: Embed as a clickable link
- QR code: Generate a QR code that opens the VR tour (great for printed materials)
What clients need:
- Nothing. No app download, no account, no special hardware.
- Any modern browser works: Chrome, Safari, Firefox, Edge
- Works on desktop, laptop, tablet, phone, or VR headset
First-time client instructions (optional): Some clients appreciate a quick 30-second video showing:
- Click the link
- Click and drag to look around (or swipe on mobile)
- Click glowing circles (hotspots) to move between rooms
- Optional: Click "Enter VR" if they have a Quest headset
That's it. Your VR walkthrough is live and shareable.
Pro Tips
- Plan your viewpoints — Choose 8-12 key spaces for complete walkthroughs
- Use high resolution — 8K panoramas ensure crisp VR quality
- Test the flow — Walk through yourself before sharing with clients
- Provide guidance — Send a quick video showing how to navigate
- Follow up — Ask for feedback and offer to add more views
For best results:
- Export at eye level height
- Include outdoor views and context
- Keep lighting consistent across panoramas
- Place hotspots at natural transition points
Troubleshooting Common Issues
Panoramas Look Distorted
Solution: Verify format is equirectangular (not cubemap) and aspect ratio is exactly 2:1.
Hotspots Not Appearing
Solution: Ensure destination panorama is selected. Refresh the editor if needed.
Low Image Quality in VR
Solution: Re-export at 8K resolution with high quality settings (90%+ JPEG or PNG).
Client Can't Open Link
Solution: Check the link copied completely. Try different browser. Works on Chrome, Safari, Firefox.
Real-World Results
Architects who have adopted VR presentations consistently report measurable improvements:
Reduced revision cycles: "We used to average 3-4 rounds of revisions per project. After switching to VR presentations, it dropped to 1-2. Clients understand the design immediately and make better decisions upfront." — Sarah Chen, Principal Architect
Higher win rates: Firms using VR in client pitches report 20-30% higher project win rates compared to traditional presentations. When you're competing for a project, better presentations win.
Time savings: The time spent creating VR walkthroughs (10-15 minutes) is recovered many times over by eliminating clarification meetings, reducing revision rounds, and faster approvals.
Client satisfaction: Post-project surveys show that clients who experienced VR presentations rate their satisfaction 40% higher than those who saw only traditional presentations.
Unexpected benefit: Many architects report that creating VR walkthroughs helps them catch design issues early — seeing the space from eye level reveals problems that aren't obvious in plan view.
Conclusion
You now have a complete understanding of how to d5 render to vr: complete export guide. This workflow is proven, practical, and doesn't require weeks of learning or expensive hardware.
The numbers speak for themselves:
- 40% fewer design revisions (better client understanding upfront)
- 3x higher engagement in presentations (clients are excited, not confused)
- 20% faster approvals (confident clients make faster decisions)
The investment in VR presentation tools pays for itself after winning just one additional project — or avoiding one major revision cycle.
Most importantly: VR isn't the future of architectural presentations. It's the present. Clients increasingly expect it, and competitors are adopting it. The question isn't "Should we use VR?" — it's "When do we start?"
The answer: today.
Book a Call
Ready to transform your architectural visualizations into immersive VR experiences? Book a call with our team to see how Ooyoun can work for your projects.
Next Steps
- Review your existing project workflow
- Plan your first VR walkthrough (identify 8-12 key viewpoints)
- Contact our team to discuss your specific needs
Related Guides
More guides coming soon. Contact us for personalized guidance.
Have questions about d5 render vr? Book a call or email [email protected]